
Find the leak in rework. Keep helium out of your vacuum test.
When a coil fails the helium vacuum leak test, locating the leak with helium puts more helium into the plant air, and that background comes right back to haunt the test chamber. The DXH-240 locates rework leaks with a 5% hydrogen / 95% nitrogen tracer gas, so your helium leak check measures the coil, not the room.
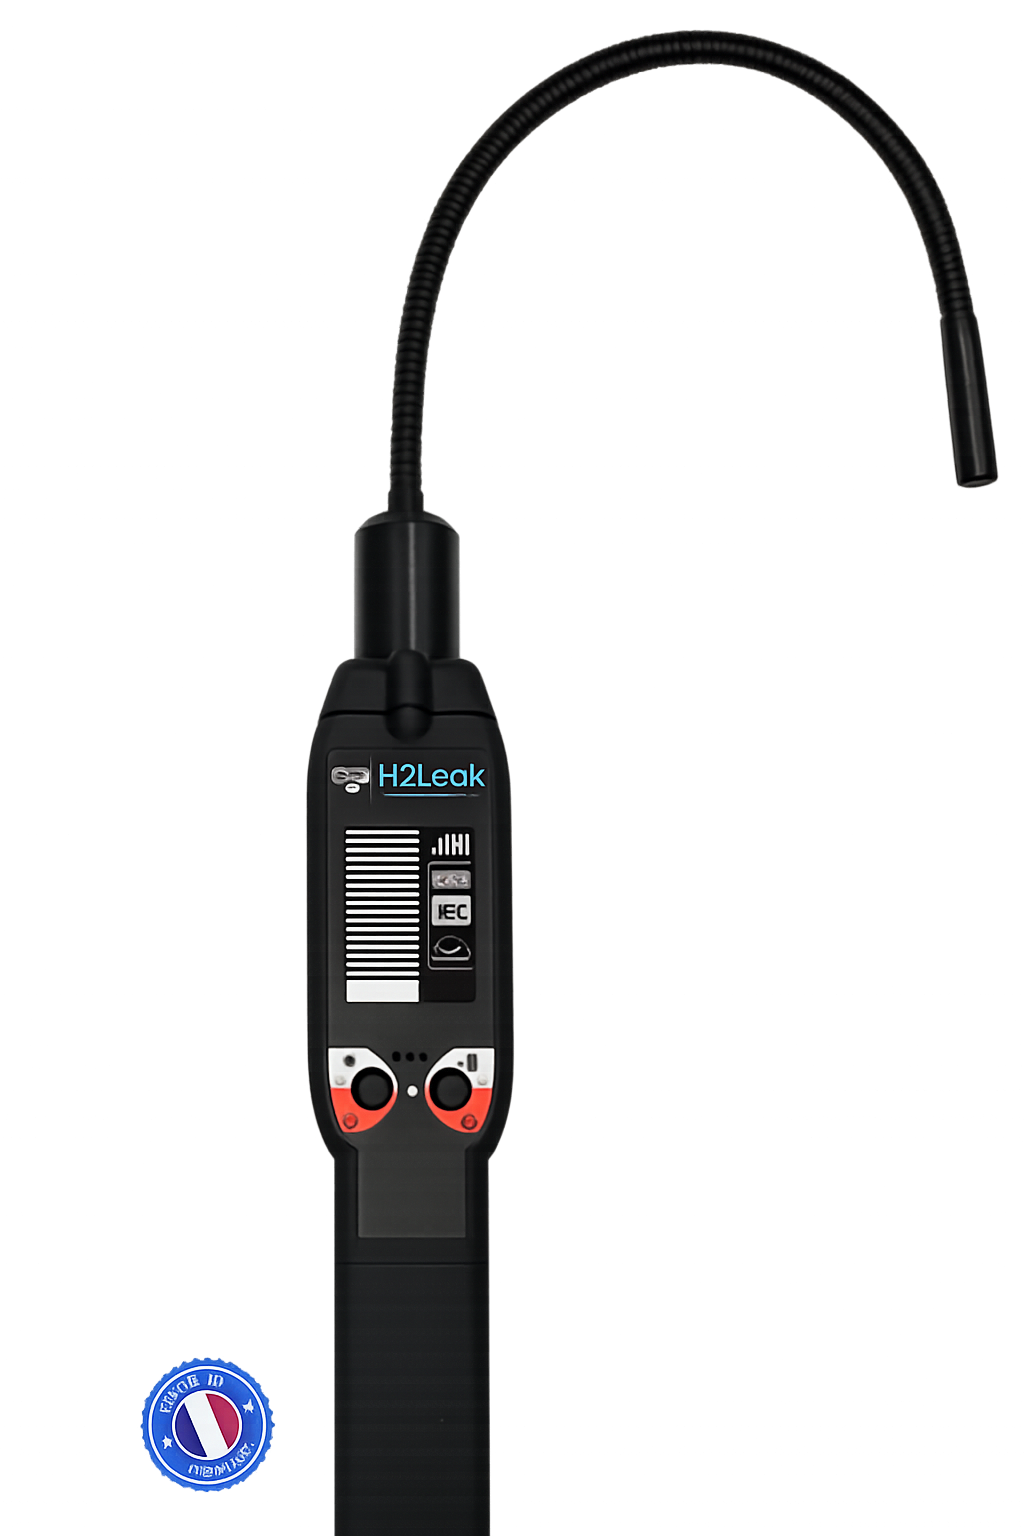 DXH-240 Hydrogen Leak Detector
Helium rework feeds the helium background loop
The natural helium background in air is about 5 ppm. In a plant running helium vacuum chamber tests, that number doesn’t stay at 5 ppm for long.
Leaking coils in the vacuum chamber and disconnected helium supply lines release helium into the plant after each test.
Rejected coils go to rework, where locating the leak with helium vents even more tracer into the building.
The plant’s helium concentration climbs well above the natural 5 ppm background.
Elevated background triggers false rejects, sending good coils back to rework and starting the loop again.
When the background exceeds your spec, testing stops
Once the plant’s helium concentration rises above the leak rate specification for the product, the test can no longer distinguish a real helium leak from helium in the elevated background. Chamber testing, and any rework testing that uses helium, must be suspended until the concentration drops to a level where a leak can again be separated from the background.
Hydrogen rework removes one of the sources. The DXH-240 locates leaks without adding helium to the plant, and it keeps working even when the helium background is high, so rework doesn’t have to stop while the air clears.
Helium rework vs. hydrogen rework
Locating with helium
- Tracer released at rework adds to helium already escaping from chamber rejects and disconnected supply lines
- Once background exceeds the product’s leak spec, both chamber and rework testing must pause until it clears
- Higher background means longer chamber cycles and more false failures
- Helium lingers and can soak into elastomers, seals, and fixtures
- Expensive tracer with volatile pricing and supply
Locating with DXH-240 + 5/95 H₂/N₂
- No helium introduced anywhere in the rework process
- The helium mass spectrometer is tuned to helium, so hydrogen tracer is not read as a helium signal
- Hydrogen is the lightest, fastest-diffusing gas and ventilates away quickly
- Low-cost, widely available, non-flammable tracer gas mix
Built for fast, confident leak location at the rework bench
Clean vacuum test background
Keep helium out of the building so your vacuum leak check stays stable, fast, and accurate.
Fewer false rejects
A lower background means fewer good coils sent back to rework, cutting a hidden cost from your line.
High sensitivity
Detects from 1 to 1,000 ppm H₂ and leaks to 1×10⁻⁵ cc/s with the H₂/N₂ tracer mix.
Pinpoint to the braze joint
Four sensitivity positions, a progressive graphic ramp, and a rising tone take operators from “failed coil” to “this joint” quickly.
Made for the bench
A 30 cm shape-memory probe reaches between coil rows, and an LED at the tip lights tight, dark areas.
Low upkeep
About 8 hours per charge via USB-C, with a field-replaceable detection cell and suction hose, plus a 12-month warranty.
From failed coil back to the helium test
Tag the reject
Coil fails the helium vacuum leak test and moves to the rework station.
Pressurize with 5/95
Charge the coil with the non-flammable 5% H₂ / 95% N₂ tracer mix.
Sweep the joints
Move the probe within 1/4″ of each braze joint at about 1 inch per second.
Narrow in and mark
Start at high sensitivity, then step down to isolate and mark the exact leak point.
Purge and repair
Evacuate or purge the tracer, then repair the joint.
Verify and return
Recheck with the DXH-240, then send the coil back to the helium vacuum test.
Handheld hydrogen tracer gas detector
| Tracer gas | 5% H₂ / 95% N₂ (non-flammable forming gas) |
|---|---|
| Sensitivity | 1×10⁻⁵ cc/s H₂/N₂ mix · 1 to 1,000 ppm H₂ |
| Response time | ~1 second |
| Warm-up | ~60 seconds |
| Modes | DETECTION (auto zero) and TRACK (manual zero) |
| Sensitivity selector | 4 positions with progressive graphic ramp and audible signal |
| Probe | 30 cm flexible, steel shape memory, LED tip, interchangeable filter |
| Power | Rechargeable battery, ~8 hr autonomy · USB-C |
| Weight | 0.35 kg |
| Supplied with | Transport case, charger, user manual |
| Warranty | 12 months |
Getting the best results in rework
- Match your reject threshold. Helium vacuum tests often reject in the 10⁻⁶ cc/s range or lower. For the smallest leaks, higher tracer pressure or longer dwell time helps the DXH-240 locate them. Tell us your spec and we’ll help you set up the process.
- Purge before retest. Evacuate or purge the tracer after repair so coils return to the helium test clean.
- Safety. The DXH-240 is not explosion-proof. Do not use it in hazardous or explosive atmospheres or at hydrogen concentrations at or above the 5.7% lower explosive limit.
Take helium out of your rework process
Tell us about your coil line and vacuum test spec, and we’ll help you set up hydrogen rework leak location with the DXH-240.
H2Leak · 233 Arnold Mill Road, Suite 300, Woodstock, GA 30188 · 770-479-7138